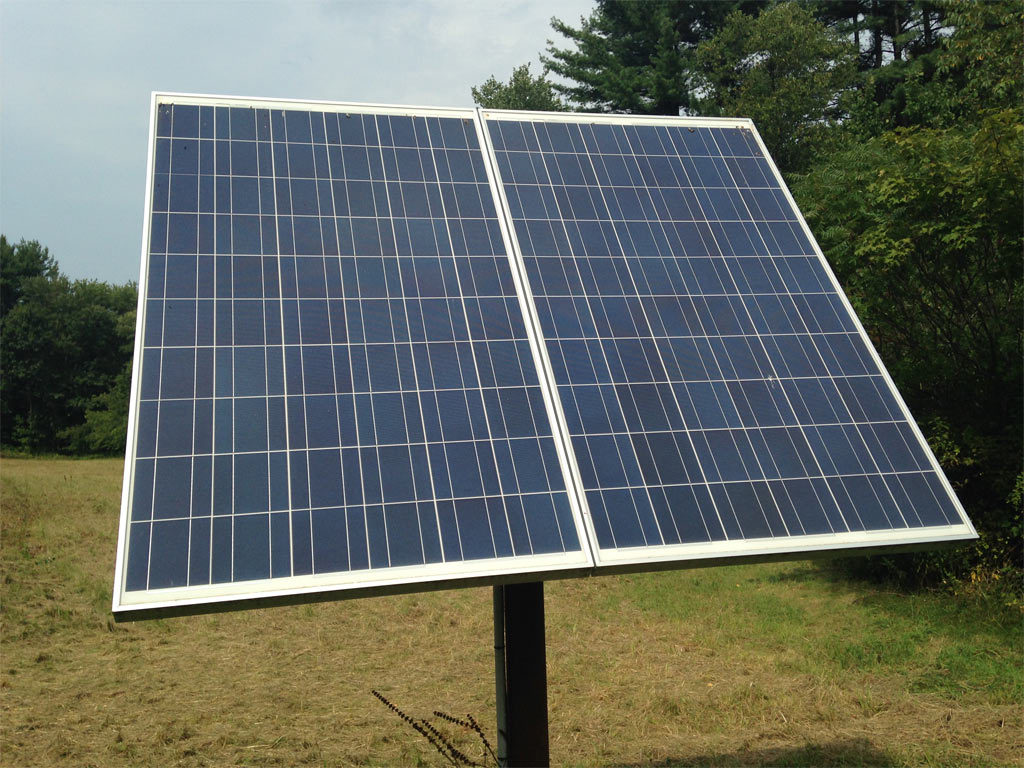
A portable solar generator is a fantastic tool for off-grid living, emergencies, or reducing your reliance on traditional energy sources.
Here's a step-by-step guide to assembling your own solar generator.
Solar Panels: A 100W panel costs around $100-$150 and captures sunlight to generate electricity.

Battery (Deep-Cycle or Lithium): Stores energy for later use; prices vary from $100-$300.
Charge Controller: Regulates the current flow from the panels to the battery (around $20-$40).
Inverter: Converts DC from the battery to AC for standard appliances (around $50-$100).
Cables and Connectors: Includes MC4 cables, battery clamps, and wiring ($20-$40).
Battery Box or Case: Protects your battery and components; typically $20-$50.
Total costs can range from $300-$600 depending on the components you choose.
Step-by-Step Instructions
Position the Solar Panel: Place the panel in a location with maximum sunlight. Ensure it has connectors compatible with your charge controller.
Connect the Charge Controller: Attach the solar panel to the charge controller using MC4 cables. The controller ensures the battery charges efficiently without overcharging.
Connect the Battery: Link the charge controller to the battery terminals using appropriate cables. This stores the energy collected by the panels.
Install the Inverter: Attach the inverter to the battery. The inverter will provide standard AC power outlets for running appliances.
Test the System: Power a small device to confirm the setup works. Use a voltmeter to check the charge flow for optimal efficiency.
Final Tips
Your portable solar generator is now ready! Keep it lightweight for mobility and expand it by adding panels or batteries as needed. This DIY project ensures reliable, sustainable energy wherever you go.


